Step 4: Install KOTS
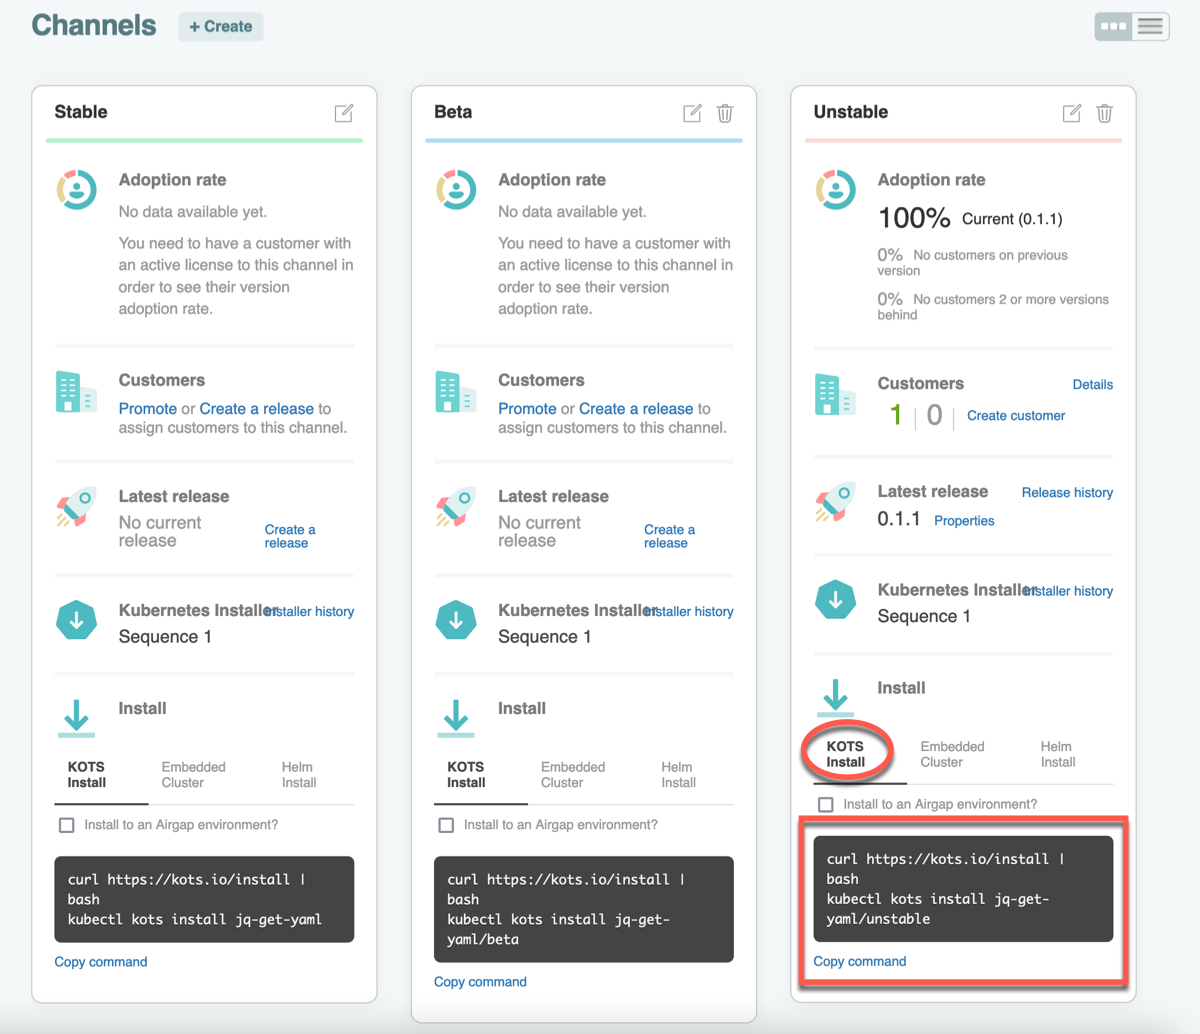
Get the installation commands from the Unstable channel so that you can test the installation process for the application release that you promoted. The first step in installing and deploying the application in a cluster is to install KOTS.
KOTS lets your users install, manage, and upgrade your application. Users can interact with KOTS through the Admin Console or through the KOTS CLI.
To install KOTS:
-
Make sure your kubectl context is set to your cluster.
-
Copy the KOTS Install command from the Unstable channel in the Vendor Portal.

The script installs the latest KOTS version as a
kubectlplugin. For more information about installing an application with the KOTS CLI, see install in the KOTS CLI documentation.Example:
curl https://kots.io/install | bash
kubectl kots install my-test-app/unstable -
For
Enter installation path (leave blank for /usr/local/bin):, use the default and press Enter. -
For
Enter a new password to be used for the Admin Console:, provide a password to access the Admin Console. You use this password in a later step to access the Admin Console and deploy the application.When the Admin Console is ready, the script prints the https://localhost:8800 URL where you can access the Admin Console.
Example output:
Enter the namespace to deploy to: my-app-unstable
  • Deploying Admin Console
    • Creating namespace ✓
    • Waiting for datastore to be ready ✓
Enter a new password to be used for the Admin Console: ••••••••
  • Waiting for Admin Console to be ready ✓

  • Press Ctrl+C to exit
  • Go to http://localhost:8800 to access the Admin Console
Next Step
Continue to Step 5: Deploy the Application to log in to the Admin Console and deploy the application.